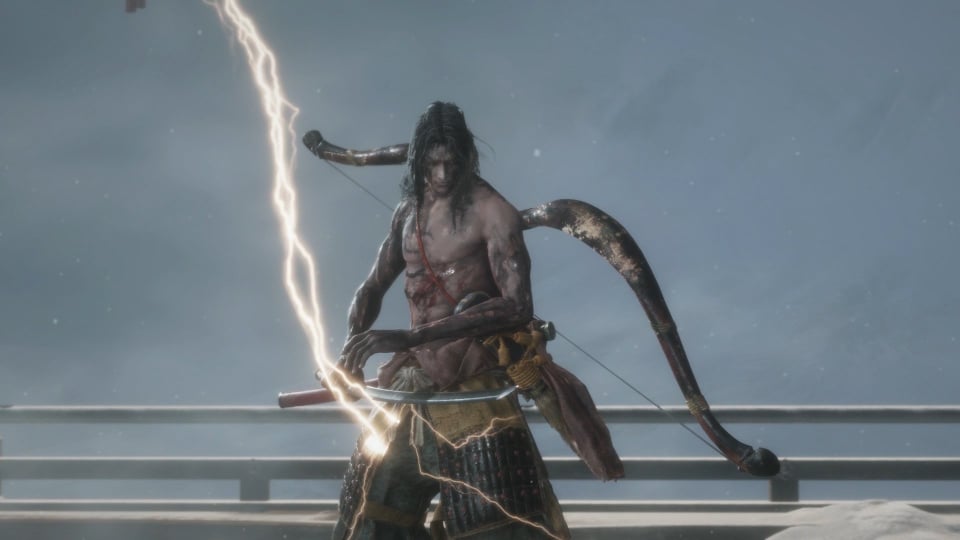
Genichiro Ashina is the boss of the Ashina Castle area in Sekiro: Shadows Die Twice. When I first got to him he was definitely the toughest boss I had come up against in the game so far. He's fast, hits like a train and when you try to get distance to heal he whips out his bow and strikes you from afar. If this wasn't bad enough after you have delivered two deathblows he then changes form and adds massive lighting strikes to his arsenal. I spent hours getting my ass handed to me by this guy.
Thankfully there is a pretty easy way to take him out and if you're struggling with this guy I recommend you give it a try. The key to this tactic is the Shadowrush skill from the Shinobi skill tree. It does need a lot of points to unlock so depending on where you've been putting your points you might need to go and farm some xp. Check out my favourite early game xp farming routes.
Once you've got Shadowrush, head off to the boss, don't forget to equip Shadowrush or you won't be able to use it. The strategy is straightforward, simply use Shadowrush as often as possible. Use it then dart back out before he can counter. You still need to take care of what you're doing as he can still do some nasty damage, don't think for one second that this will be a cake walk.
Once you've dealt your two deathblows it's time for the last phase. His move set is pretty similar but with the addition of a lighting attack and a thrust attack. These two new attacks are the key to your success. To combat the lighting you need to jump just as it is released and then before you hit the ground press right bumper (Xbox One) to release the lighting back at Genichiro. This will cause a decent amount of damage and also stun him for a few seconds.
To deal with his thrust attack you need to have the Mikiri Counter unlocked which is one of the earlier skills you can access. When you see his thrust coming in simply press B to initiate the counter and deliver a good chunk of posture damage.
Other than these two strategies I would try to keep a bit of distance and then jump in when you see a gap to land a blow or two. Once again this stage won't be a cake walk but armed with the information above you'll fare much better.
Sadly, I didn't realise that I had stopped recording when I finally managed to take him down via the above method so here is someone else's video to guide you through.


